How to Set Up Your First Month in CalBudget (in 15 Minutes)
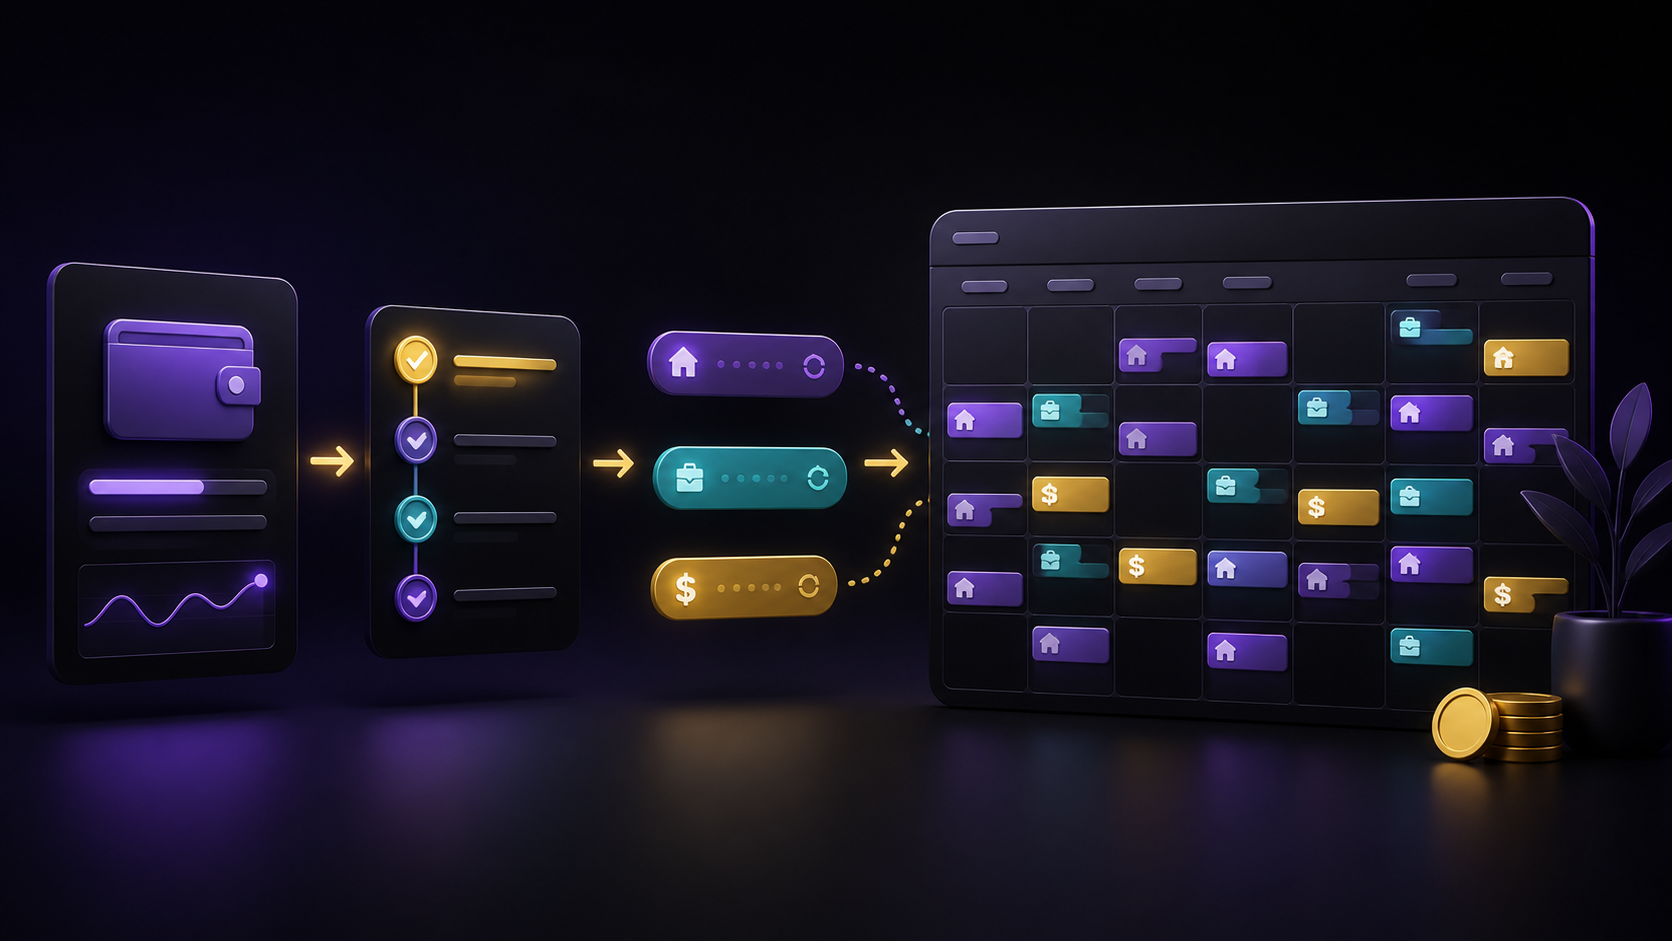
A blank calendar to a year of forecasted cash flow, in four steps. Account balance, recurring bills, paychecks, ad-hoc spending — in exactly that order.
The single biggest reason people abandon budgeting is the setup. You sit down to "get organized," three hours later you're knee-deep in a spreadsheet with twelve tabs and one of them is named "misc2," and you give up. CalBudget is designed so the entire setup takes about fifteen minutes — and most of that is just typing in numbers you already know.
Here's the exact order. Doing it in this order matters: each step depends on the one before it.
Step 1: Enter your account balance (1 minute)
Open your bank app, look at the current balance of your primary checking account, and type that number into CalBudget under Settings → Accounts. That's your starting point. Everything else is computed forward from there.
If you have multiple accounts — savings, a credit card, a joint checking — add each one. Each gets its own calendar and its own running balance. You can also skip them for now and add them later; nothing breaks.
CalBudget never connects to your bank. You type in the balance manually. This is the only mildly tedious step, and it's the reason your banking credentials never leave your device.
Step 2: Add your recurring bills (5 minutes)
These are the transactions that happen on the same schedule every month — rent, mortgage, car payment, insurance, internet, phone, gym, the streaming services that have somehow accumulated. Add each one as a transaction with a frequency: monthly, biweekly, weekly, yearly.
When you mark a transaction recurring, CalBudget automatically populates up to 52 future occurrences sharing a recurrence group. Your rent on the 1st of May, June, July, all the way through next April, all in one click.
- Open Add Transaction.
- Type the amount, name, and the day of the month it usually hits (e.g., rent on the 1st).
- Pick a frequency. Most bills are monthly.
- Save. Watch a year of future occurrences fill in.
The first pass should take you 5 minutes, not 30. If you forget a $9 subscription, you'll catch it next month and add it then. The point is to get the big rocks in place.
Step 3: Add your paychecks (3 minutes)
Income works exactly like bills. Add your paycheck as a recurring transaction — usually biweekly or monthly, depending on your employer. If you have a side hustle with predictable income, add it too. If your income is irregular, enter expected amounts and adjust them as reality unfolds.
Variable Income Without the Anxiety: A Freelancer's Guide
If your income is irregular — freelance, contract, commission — there's a specific setup that works much better than the standard one.
After this step, your calendar should already look useful. The big inflows and outflows are mapped. The running balance line is starting to mean something.
Step 4: Add the ad-hoc stuff (6 minutes)
This is groceries, gas, the occasional dinner out, a haircut, a Target run. You can do this two ways:
- Backfill the current month from your bank's recent transactions (skim the last 30 days, drop them onto the right days).
- Or skip the backfill and just start logging from today forward — takes about 30 seconds a day.
Either works. The second is faster to start. The first gives you a fuller picture sooner. There's no wrong answer.
CalBudget has a quick-add bookmarks feature — save your most common transactions (groceries, coffee, gas) and one-click them onto any day. After the first week, daily logging takes under a minute.
What you should be looking at by minute 15
Once you finish step 4, scroll forward a month or two on the calendar. You should see:
- Your rent or mortgage on the 1st (or whichever day it actually hits).
- Your paychecks on their normal days.
- Subscriptions sprinkled across the month.
- A running balance number on every day, showing you exactly when the low point of each month falls.
If you see all of that, you're done with setup. From here it's maintenance — a few seconds a day to log new transactions, a quick scroll once a week to spot anything off-schedule.
Why a Calendar Is the Best Budget App You're Not Using
The mental model behind the four-step setup. Why a calendar beats a list, and why time is the missing variable in most budgeting tools.
Sign up at the homepage to start your fifteen-minute setup. Start with 7 days free, no card required, then continue at $2.99/month or $29.99/year — every feature included, no upsells.
How to use this first-month budget setup advice in a real month
The practical way to apply this is to treat set up a budget calendar as a weekly review, not a one-time cleanup. Open the calendar, look at the next two paychecks, then look at every bill, subscription, transfer, and planned purchase that clears before the second paycheck lands. That short window is where most budget stress starts, because it is close enough to be accurate and far enough away that you can still change the outcome.
For new budgeters who want a fast setup without connecting their bank account, the goal is not to build a perfect financial model. The goal is to see whether the next important date is safe. If the lowest projected balance is uncomfortable, you have a clear menu of options: move a flexible due date, delay a nonessential purchase, split a large payment, transfer money earlier, or lower the spending plan for one week. A calendar budget makes those tradeoffs visible before the bank balance becomes urgent.
- Use this article when you are searching for "how to start budgeting in 15 minutes" and want a date-by-date cash-flow answer instead of a broad monthly category total.
- Use this article when you are searching for "first month budget setup" and want a date-by-date cash-flow answer instead of a broad monthly category total.
- Use this article when you are searching for "manual budget app setup" and want a date-by-date cash-flow answer instead of a broad monthly category total.
The best first-month budget setup plan is the one you can check in under five minutes. Put the important dates on the calendar, watch the running balance, and let the lowest day tell you what needs attention next.

